
Processing fun times JavaScript quirkiness
Processing simplicity times JavaScript flexibility
Processing intuition times JavaScript power
Processing creativity times JavaScript dynamism
Processing community times JavaScript community
the power of Processing times the reach of JavaScript
Guide to contributing p5.js tutorials
We invite educators, contributors and general enthusiasts to contribute p5js tutorials. The p5js project makes creative coding and open source development more accessible to a diverse community and we are excited to publish tutorials on all aspects of the development process. Our learning materials so far include guides on learning p5, programming technique and how to contribute to an open source project.
We welcome new written tutorial contributions and this guide outlines the steps of how to propose, prepare and contribute.
How to get started:
- Check that your proposed topic has not already been covered. There is a working spreadsheet here that outlines in progress tutorials. If your topic is listed as in progress, perhaps you can add to work being done and contribute to preparing existing work for publication so please reach out to us.
- If your topic is not already covered and is not listed as in progress, please write a few sentences on what you propose to cover and email us this description at education@p5js.org.
How to prepare a p5js tutorial for publication online:
When your tutorial is ready for publication, please follow these steps to prepare your content for the p5js website.
Prepare the content of your tutorial as a tutorial-name.hbs file with this basic structure . As is shown in this file, it must contain a header as shown below:
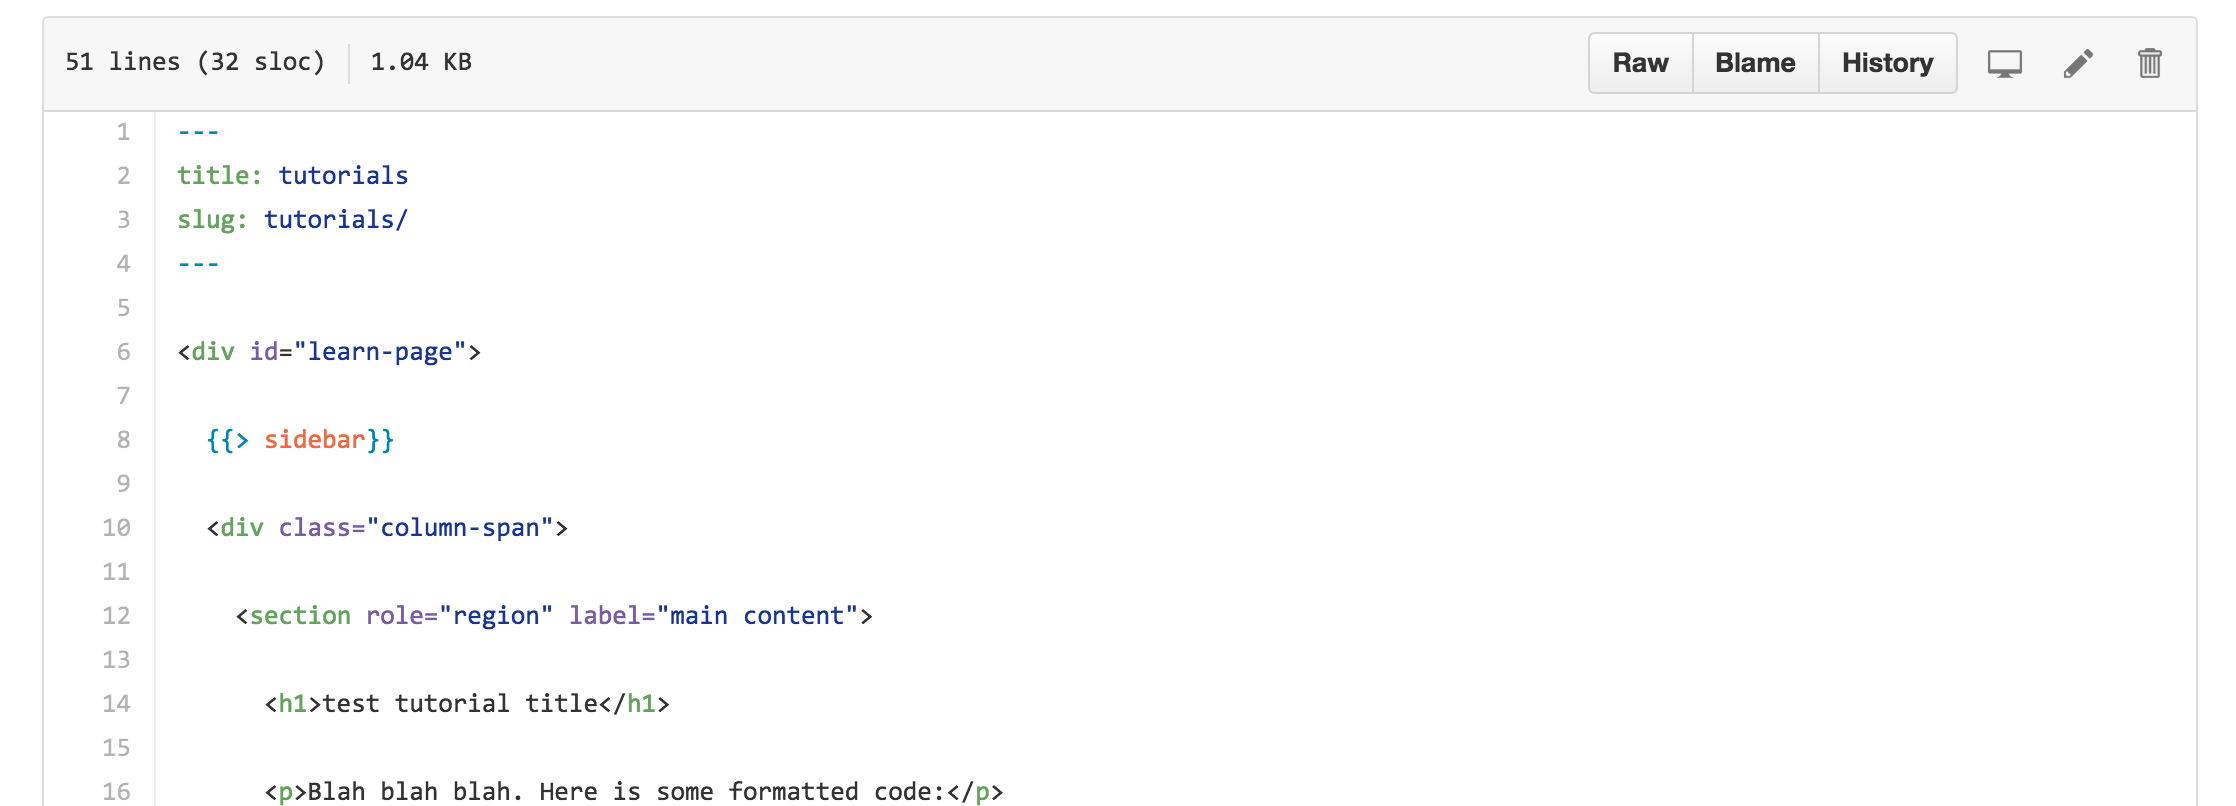
The folder containing your tutorial will be placed in the 'tutorials' folder of the p5js site. The file called index.hbs is the p5.js tutorials landing page, and the test-tutorial.hbs file is the test tutorial.
All content should go in the: <section role="region" label="main content"> </section> tags on the page, with formatting defined by the <h1> and <h2> tags, the <p> paragraph tags as is done shown on thetest tutorial page.
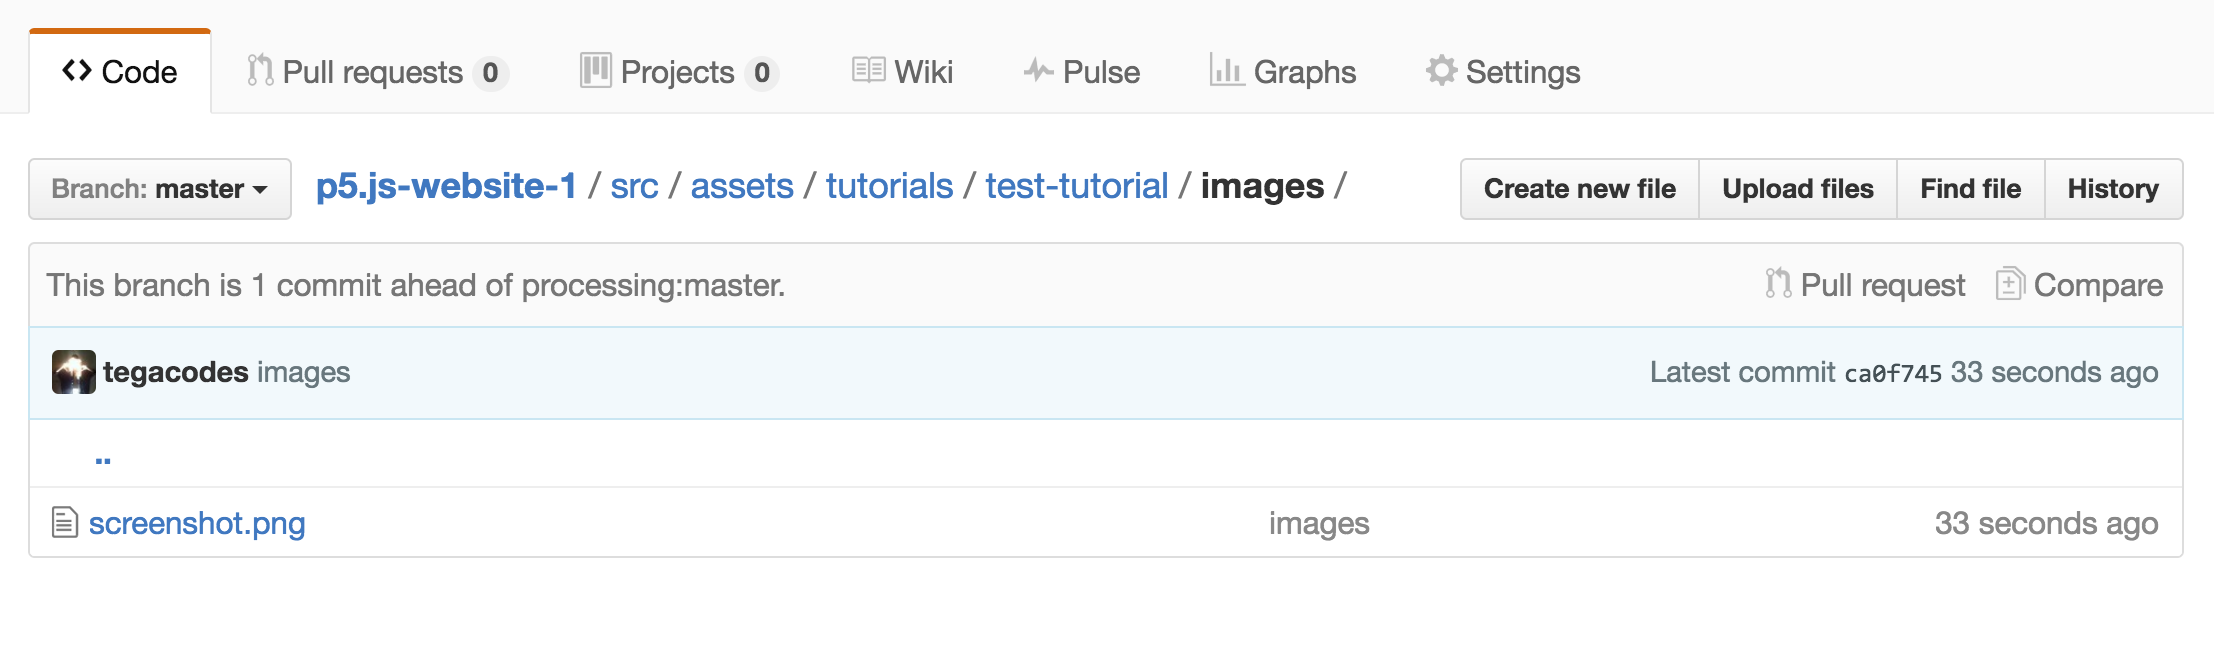
If your tutorial contains images, they are to be placed in the assets folder of the p5 site, in the location src/assets/learn/test-tutorial/images as shown below.
To correctly format code in the html of the page use the tag:
<pre><code class="language-javascript">
Your code here!
</code></pre>
Embedding p5.js sketches
Using p5js means you can illustrate your tutorial with animated, interactive or editable code examples to demonstrate programming concepts. Your examples should be prepared as p5.js sketches and can be embedded into the tutorial in two ways.
- If the example is to be editable like in the reference pages of the p5js site, the p5 sketch should be embedded into the html page using the p5js widget. Follow this guide on how to embed p5js sketches using the widget written by Toolness. You can also see this in action on the test tutorial page.
- If the example is to be animated and/or interactive but not editable. The p5.js sketch should be embedded into the page as an iframe as described below.
Embed a p5 sketch using an iframe
An iframe is like creating a window through which you can see another page, sandboxed from the rest of your page. In this case it will be a window to the index.html containing your p5.js sketch.

Put your p5 sketches in the /src/assets/learn folder of the site, in a folder labelled with the name of your sketch as shown in the screenshot. This is where all the images and p5 sketches linked by iframe should be stored.
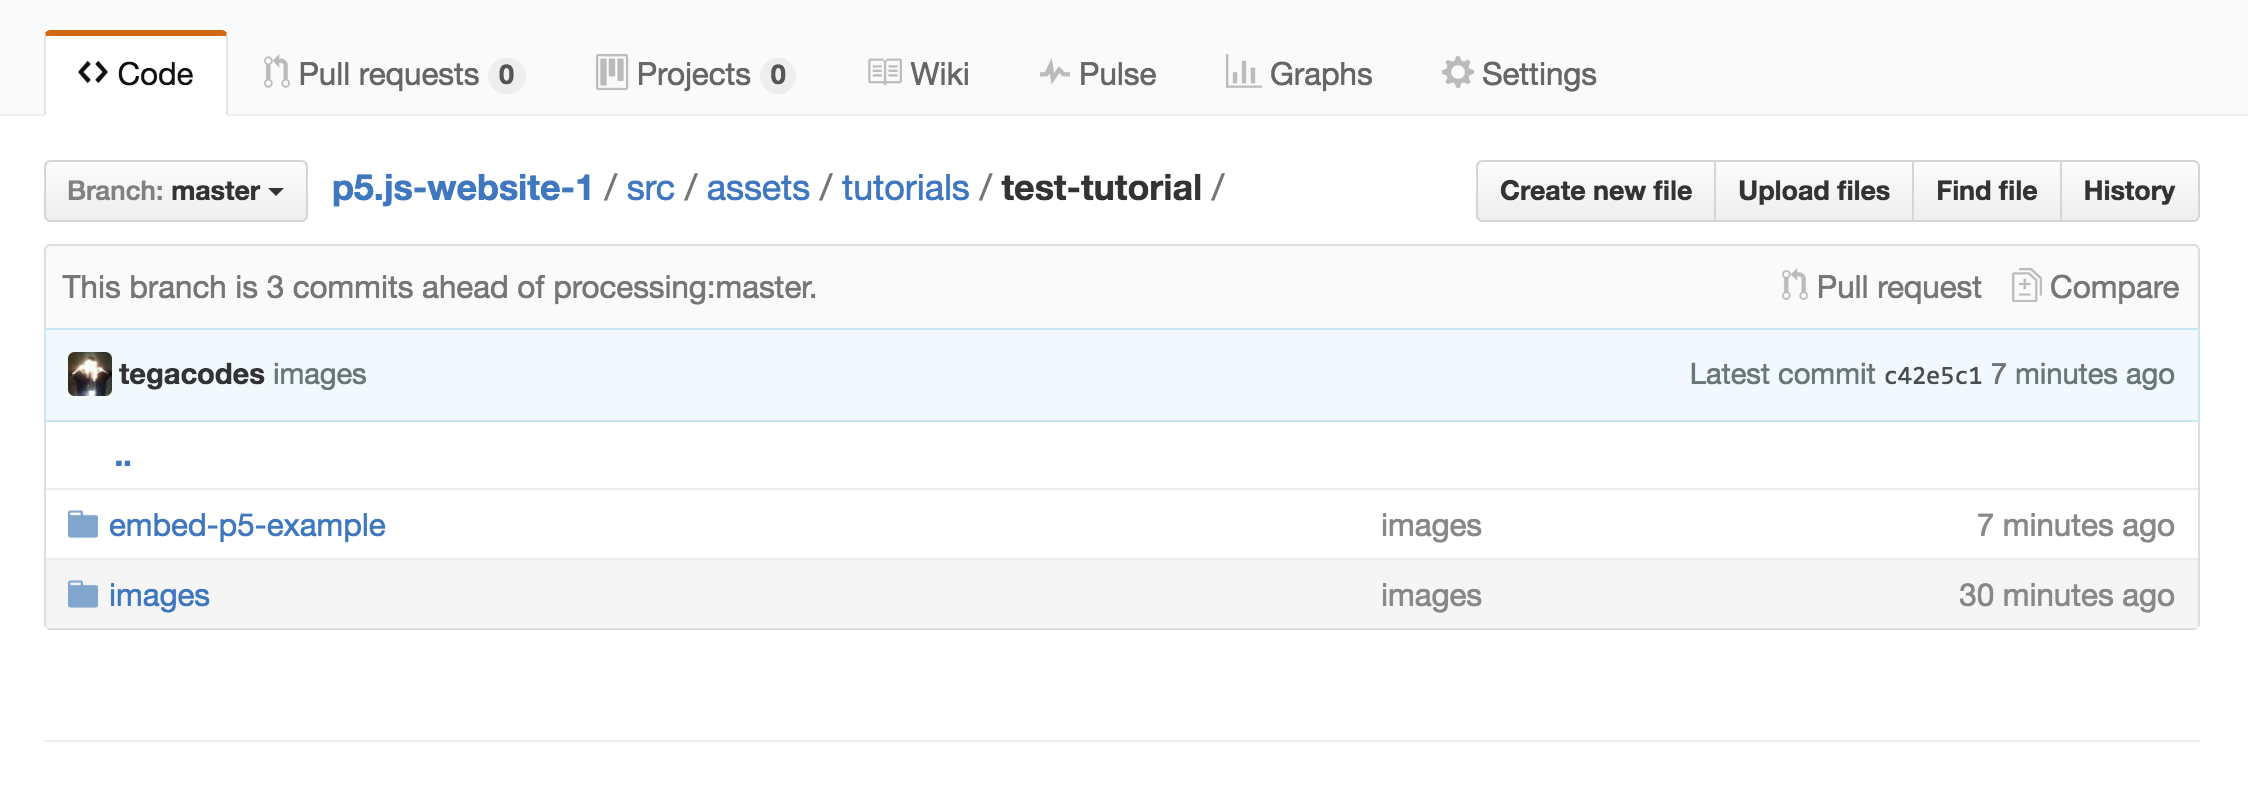
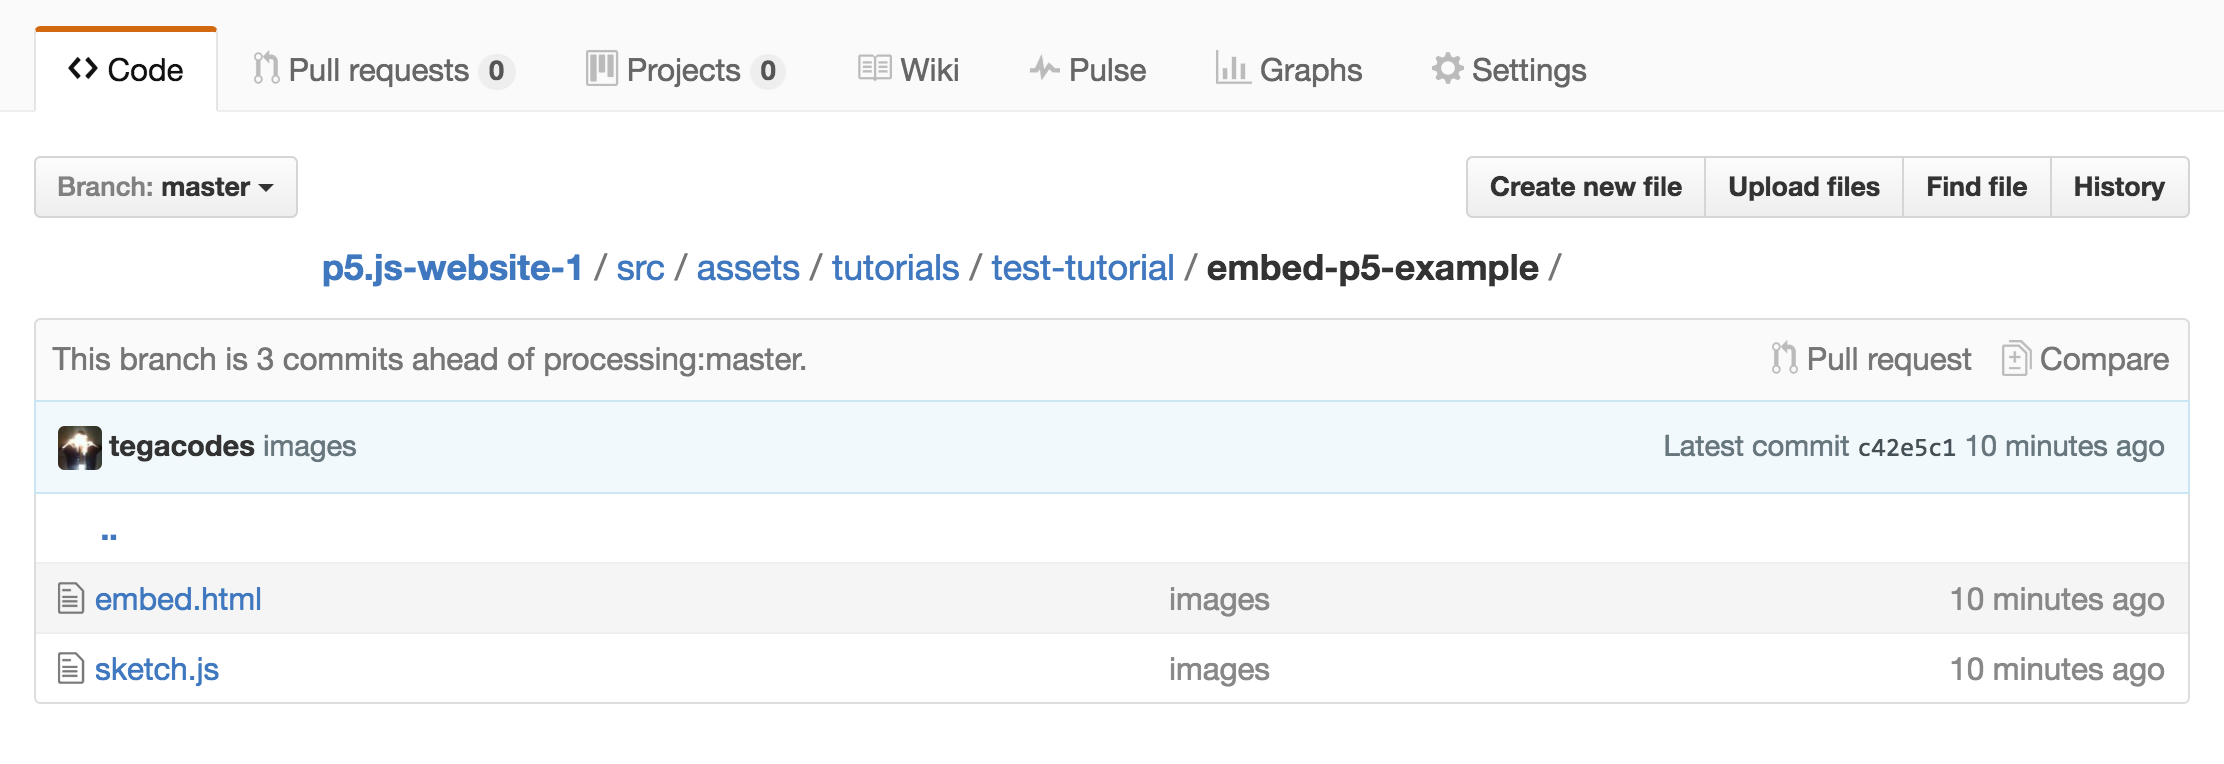
In the subfolders containing your p5 examples there should be a sketch.js file and the embed.html file for the sketch.
Make sure your embed.html file has the correct paths to the p5 libraries of the site. If your file structure is the same as above, the path to the p5.js library should be "../../../js/p5.min.js".
You can then embed the p5js index files as iframes in the .hbs file that contains your tutorial content. The embed code for the iframe would then be:
<iframe src="http://p5js.org/assets/learn/tes-tutorial/embed.html" width="600px" height="400px">
</iframe>
Styling for the iframe (this could directly into the post or in a stylesheet):
<style> iframe{ border: none; } </style>
Here you can see the naked sketch running:
http://staging.p5js.org/assets/learn/test-tutorial/embed.htmlAnd here it is embedded in the p5 site using the code below:
http://staging.p5js.org/learn/test-tutorial.htmlOne thing to note is that you need to manually set the size of the iframe, so it works best if things are a standard size.
Also note that the links to the p5.js library files do not happen from the .eps page with all the tutorial content. Instead they will be located in the html page that is rendering your sketch (in this case, called embed.html).
More information on embedding p5.js sketches can be found here.
Finishing up
Once your have finished writing your tutorial and your content has been given the thumbs up. Fork the p5.js website repository, prepare your content as described above and then issue a pull request to the p5.js website repository so we can publish your contribution!
Thank you!